How to Check Continuity Between Alternator and Battery

Alternators have replaced dynamos as generators on modern cars; they can produce more current .
Any short or open circuit or wrong connection can cause a sudden surge of voltage that will damage electronic parts. Never make or break any connection while the engine is running.
Checking alternator output using an ammeter in series with the charging system should be done only by an auto-electrician. A safe test can be made with an induction ammeter held parallel to the output cable, but it is less reliable.
Checking the alternator output leads
Check that all connections are secure. Start the engine and connect a voltmeter or tester across the battery terminals .
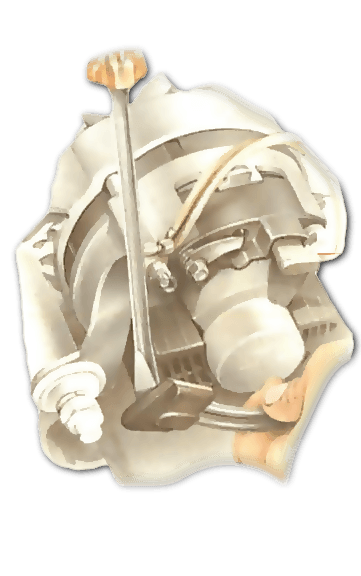
Testing output on a Lucas ACR alternator

Have a helper rev up the engine from idling speed. If the voltage does not rise (or the tester lamp or headlamps do not brighten) as engine speed increases, alternator output is too low or is not reaching the battery . Check that the alternator is actually turning.
Switch off the engine and check the tension on the drive belt. Check that wiring to the alternator is not broken or disconnected.
If these checks do not reveal a fault, disconnect the battery earth terminal and check the alternator leads with a voltmeter.
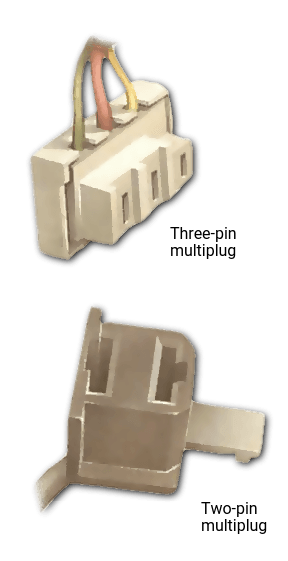
There is one thick output cable from the alternator to the starter solenoid , and a smaller lead or leads. Some or all of the leads may be connected by a multiplug.
If the heavy lead to the starter is separate (not on a multiplug), you do not have to disconnect it, and you can test it any time the battery is connected, using a test lamp. It should be permanently live.
Disconnect the smaller leads and/or the multiplug.
If the alternator has an external voltage regulator , there will be separate connections to it; do not undo these connections, even if you have to unfasten the regulator and move it aside.
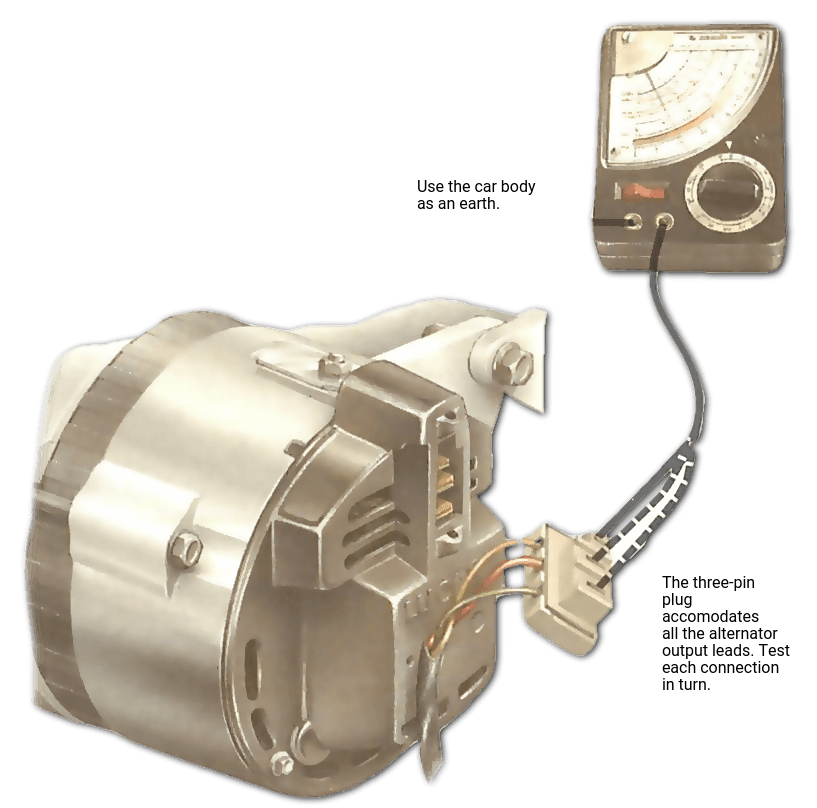
Reconnect the earth terminal on the battery, and switch on the ignition . Test the alternator leads by connecting each in turn with the voltmeter to an earth.
If there are any leads which fit on to terminals marked with an earth symbol or E, N, —, or D, do not test them. They are earth connections.
All the positive leads should give readings of battery voltage .
If there is a small lead marked 'Ind' for the ignition warning light, and it alone remains dead when the ignition is switched on, the light mat have blown or be disconnected.
If any other wire which ought to be live is not, check it for a loose connection, or a breakage or faulty insulation causing a short circuit .
If all the wires are live and there is still a fault in the charging system, it is probably in the alternator or the regulator. Take the car to an auto-electrician.
Disconnect the earth terminal on the battery before reconnecting all the leads. Make sure everything is reconnected securely and correctly before starting the engine.
Testing output on a Lucas ACR alternator
Testing output on a Lucas ACR alternator

The three-pin multiple plug has no earth terminal. Switch on the ignition and test the continuity of the leads one by one, by connecting them with the voltmeter to an earth. You should get a reading of battery voltage for each one; if not, there is a broken connection and the alternator cannot change the battery.
Multple fittings

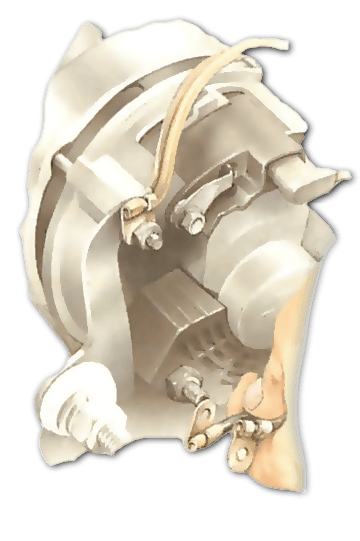
Terminals under a flexi-cover

Some alternator leads, particularly continental ones, have terminals that are protected by a rubber or plastic flexi-cover.

Remove the cover by prising it gently away from the lead terminal with a screwdriver.
Disconnect the lead or leads from the alternator for testing by undoing the nut and taking it off the terminal.
Other alternators
Alternator manufacturers each have their own system of connecting output leads. There is also colour coding, but it varies not only among alternators but also among car makers who use the same make of alternator.
Ducellier alternators use flexicovers on terminals.
The Hitachi alternator is fitted to various makes of Japanese and European cars. The wiring connections are a double-pin multi-connector block carrying the smaller cables, and one large terminal post carrying the heavier load-carrying cable, with an eyelet secured by a nut.
The AC Delco alternator is fitted to many Vauxhall and General Motors cars of both British and continental manufacture. It has two terminal posts, one larger than the other, both cables carrying eyelets secured by nuts.
Source: https://www.howacarworks.com/electrical-systems/testing-an-alternator-and-checking-output
0 Response to "How to Check Continuity Between Alternator and Battery"
Post a Comment